Remote computing has become an essential skill for tech enthusiasts and professionals alike. Whether you're managing servers, controlling home automation systems, or even engaging in remote astronomy, having the ability to connect to devices from afar is invaluable. One of the most versatile tools for this purpose is the Raspberry Pi, a compact yet powerful single-board computer that can be configured for a variety of remote access tasks.
In this ultimate guide, we will explore how to safely remote into a Raspberry Pi, ensuring seamless control over your device. From setting up secure connections to troubleshooting common issues, this guide will walk you through every step of the process. By the end, you'll have the knowledge and tools necessary to remotely manage your Raspberry Pi with confidence and efficiency.
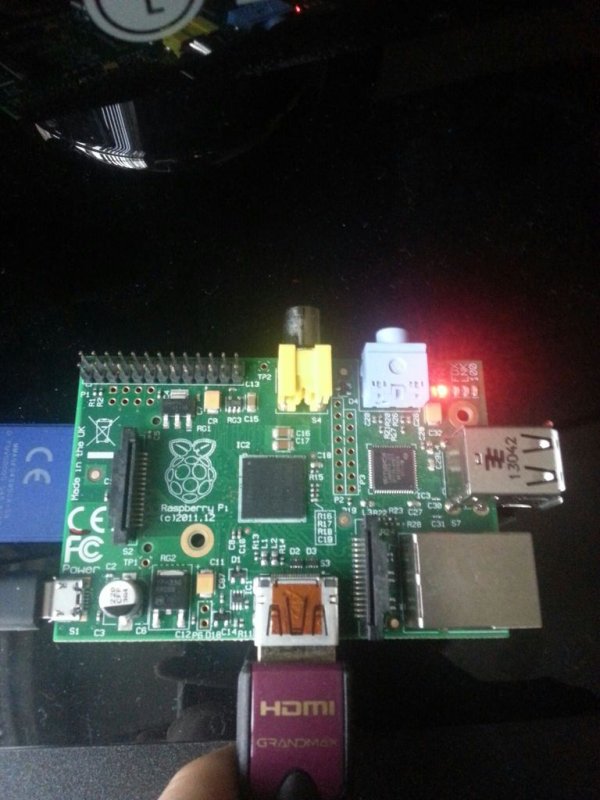
Setting Up Your Raspberry Pi for Remote Control
Before diving into the specifics of remote access, it's important to ensure your Raspberry Pi is properly set up. Begin by installing a reliable operating system such as Astroberry server, which offers robust functionality for various applications, including astronomical mounts. Although not directly connected to any hardware, Astroberry provides all the necessary features to interface with mounts. To establish a connection with your mount, research suitable software that facilitates communication between the Raspberry Pi and the mount.
Once the basic setup is complete, consider exploring forums and online resources where other users share their experiences and solutions. These platforms can offer valuable insights and guidance on selecting appropriate software and configurations. Remember, each setup may vary depending on specific requirements, so tailor your approach accordingly.
Finally, don't hesitate to reach out to communities or seek documentation when challenges arise. Engaging with knowledgeable peers can significantly enhance your understanding and success in configuring your Raspberry Pi for remote operations.
Connecting Raspberry Pi to Windows: A Step-by-Step Guide
Using a Raspberry Pi to remotely access a Windows computer involves several straightforward steps. Start by enabling Remote Desktop on your Windows machine. This feature allows other devices to connect to your desktop securely. Navigate to the system settings, locate the Remote Desktop option, and activate it. Ensure that your Windows firewall permits incoming connections for Remote Desktop to avoid connectivity issues.
Next, determine your local IP address on the Windows computer. This information is crucial for establishing a connection from the Raspberry Pi. Use the command prompt or network settings to find the IP address. Once obtained, input this address into the remote access software on your Raspberry Pi, such as XRDP or VNC Viewer, to initiate the connection.
Lastly, verify the connection by logging in with your Windows credentials. If successful, you should see your Windows desktop mirrored on your Raspberry Pi interface. This setup enables efficient management of your Windows computer from virtually anywhere, provided both devices are connected to the internet.
Building a Remote Access Solution for Hubitat
For those interested in expanding their smart home capabilities, integrating Hubitat with a Raspberry Pi offers exciting possibilities. The primary objective here is to create a reliable remote access solution that allows you to interact with your Hubitat hub while away from home. This setup becomes particularly useful during travel or when troubleshooting is required remotely.
Begin by installing a lightweight operating system on your Raspberry Pi and configuring a Virtual Private Network (VPN) service. Popular options include OpenVPN or WireGuard, which provide secure tunnels for data transmission. Once the VPN is operational, connect your Raspberry Pi to the network housing your Hubitat hub. This connection ensures encrypted communication between the two devices.
With the infrastructure in place, test the remote access by connecting to your Raspberry Pi via the established VPN. Through this connection, access the web interface of your Hubitat hub and perform necessary tasks such as monitoring sensors or adjusting settings. This method not only enhances convenience but also strengthens the security of your smart home ecosystem.
Securing Connections to Your Raspberry Pi
When accessing a Raspberry Pi remotely, security should always be a top priority. One effective method is using a Virtual Private Network (VPN) to encapsulate all communications between your device and the Raspberry Pi. By routing traffic through a secure tunnel, unauthorized access attempts are minimized, protecting sensitive data and operations.
To implement this strategy, set up a VPN server either locally or through a trusted third-party provider. Configure your Raspberry Pi to connect to this server automatically upon startup. This ensures that whenever you attempt a remote session, the connection is protected from potential eavesdroppers or malicious actors.
In addition to VPNs, consider utilizing SSH (Secure Shell) for direct terminal access. SSH encrypts all transmitted data, making it an ideal choice for executing commands or transferring files securely. Combine these methods to fortify your remote access protocols, safeguarding your Raspberry Pi against unwanted intrusions.
Raspberry Pi Connect: Simplifying Remote GUI Access
The Raspberry Pi Connect tool revolutionizes how users interact with their Raspberry Pi devices. This utility allows secure, remote graphical user interface (GUI) access via any modern web browser. Leveraging the latest Raspberry Pi OS, this tool eliminates the need for specialized software installations on client machines, simplifying the connection process significantly.
Begin by updating your Raspberry Pi to the newest version of the operating system, which includes support for Raspberry Pi Connect. After installation, enable the feature within the configuration settings. This action generates a unique identifier that facilitates secure connections from authorized devices.
From any location with internet access, open a web browser and enter the provided URL associated with your Raspberry Pi. Upon successful authentication, you'll gain full GUI control over your device. This capability proves especially beneficial for users who require visual interaction with their Raspberry Pi without physical presence.
Remote Control via Mobile Devices
Controlling a Raspberry Pi from mobile devices like iPads or iPhones introduces flexibility and convenience to your workflow. Imagine being able to monitor and manage projects directly from your smartphone or tablet, regardless of location. Achieving this requires careful planning and setup, focusing on creating stable and secure connections.
Start by identifying compatible apps designed for remote access to Raspberry Pi devices. Applications such as VNC Viewer or RealVNC offer intuitive interfaces tailored for mobile use. Install the chosen app on your iOS device and configure it to connect to your Raspberry Pi's IP address. Ensure that both devices reside on the same network initially for testing purposes.
For enhanced mobility, extend the connection beyond local networks by employing a dynamic DNS service or port forwarding techniques. These approaches allow external access to your Raspberry Pi, enabling control even when traveling or away from home. With proper configuration, your mobile device transforms into a powerful tool for managing Raspberry Pi-based projects on the go.
Exploring Advanced Remote Control Options
For advanced users seeking more sophisticated ways to control laptops or other computers through a Raspberry Pi, consider implementing a networked KVM (Keyboard, Video, Mouse) solution. This setup effectively turns your Raspberry Pi into a virtual control center capable of managing multiple devices simultaneously. Such configurations prove particularly advantageous for administrators overseeing numerous machines.
Begin by selecting appropriate hardware and software components that support KVM functionalities. Options range from dedicated USB adapters to software-based solutions like Moonlight or Parsec. Each choice presents distinct advantages and limitations, so evaluate them based on your specific needs and constraints.
After assembling the necessary components, integrate them with your existing network infrastructure. Test the system thoroughly to confirm reliability and performance under various conditions. With a functional KVM setup in place, enjoy streamlined control over multiple devices, enhancing productivity and simplifying complex workflows through centralized management facilitated by your Raspberry Pi.
