Remote access to your Raspberry Pi can be an incredibly useful tool for managing and interacting with your device from anywhere in the world. Whether you're a hobbyist or a professional developer, setting up SSH (Secure Shell) is a fundamental step in enabling secure remote connections. With SSH, you can execute commands, transfer files, and manage your Raspberry Pi without needing physical access.
Setting up remote access via SSH on your Raspberry Pi doesn't have to be complicated. In this guide, we will walk you through the process of configuring your Raspberry Pi for remote access using SSH in just a few simple steps. By following these instructions, you'll be able to control your Raspberry Pi from any location, opening up endless possibilities for projects and applications. Let's dive into how you can set this up efficiently and securely.
Configuring Port Forwarding for External Access
To enable external access to your Raspberry Pi, it’s essential to configure port forwarding on your router. This involves setting up NAT rules that direct incoming traffic to your Raspberry Pi's internal IP address. While the default SSH port is 22, it’s advisable to use a non-standard port, such as 2022, to enhance security and avoid common attacks targeting default ports.
Access your router's admin interface and locate the section for port forwarding or NAT rules. Create a new rule that maps the chosen external port to the internal IP address of your Raspberry Pi on port 22. Ensure that your Raspberry Pi has a static IP address within your local network to maintain consistent connectivity.
After setting up the port forwarding, test the connection by attempting to SSH into your Raspberry Pi from an external network using the public IP address of your router and the specified port. This setup allows you to bypass the limitations of being confined to your local network.
Installing Syncthing for File Synchronization
Syncthing is a versatile tool that can complement your SSH setup by providing real-time file synchronization between your Raspberry Pi and other devices. Begin by installing Syncthing on your Raspberry Pi using the apt-get package manager. Once installed, launch Syncthing and follow the prompts to complete the initial configuration.
Choose a device to pair with your Raspberry Pi for synchronization. This could be another computer, a smartphone, or any other compatible device. Wait for your Raspberry Pi to acknowledge the device and establish a secure connection. Syncthing uses encryption to ensure that your data remains private during transmission.
With Syncthing configured, you can effortlessly keep files synchronized across multiple devices. This feature is particularly useful when working on collaborative projects or needing access to important files from different locations. Additionally, Syncthing eliminates the need for third-party cloud services, giving you full control over your data.
Enabling SSH on Your Raspberry Pi
The first step in setting up remote access is to enable SSH on your Raspberry Pi. Connect your Raspberry Pi to a monitor and keyboard, then open the terminal from the desktop environment. Enter the command 'sudo raspi-config' to launch the configuration utility.
In the utility menu, navigate to the 'Interface Options' section and select 'SSH'. Choose to enable the SSH server and confirm your selection. The Raspberry Pi will now be ready to accept SSH connections. Reboot your Raspberry Pi to apply the changes.
To connect remotely, you’ll need the IP address of your Raspberry Pi. Use the 'ifconfig' or 'ip addr' command in the terminal to find the IP address assigned to your device. With SSH enabled and the IP address known, you can proceed to connect from another computer using an SSH client.
Using SSH Clients Across Different Operating Systems
Once SSH is activated on your Raspberry Pi, you can connect to it from various operating systems. On Windows, you may use clients like PuTTY or the built-in SSH functionality available in newer versions of Windows 10. For macOS and Linux users, the terminal provides a straightforward way to initiate SSH sessions.
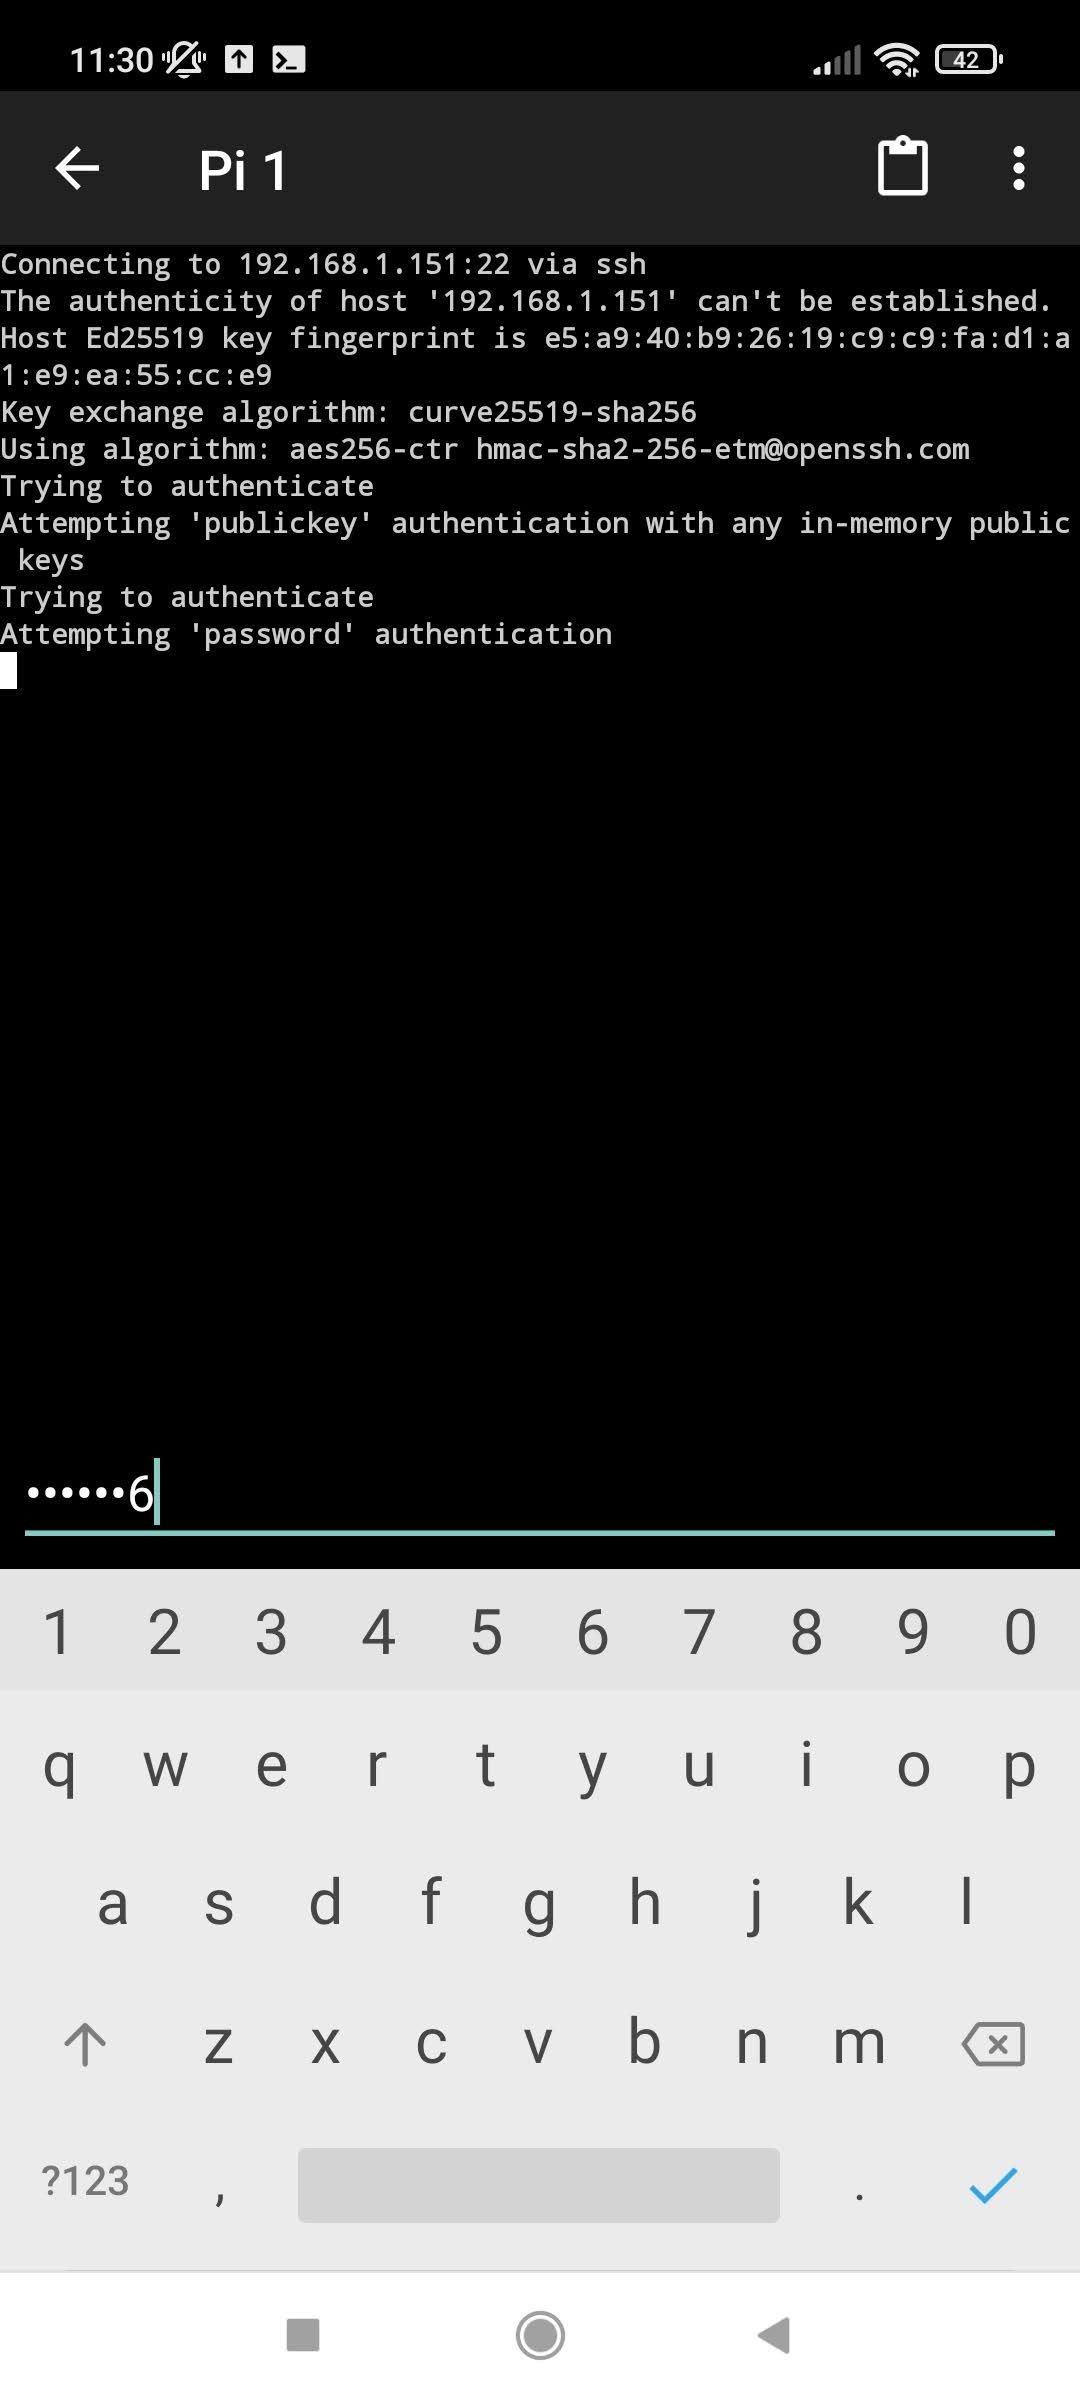
Enter the SSH command followed by the username and IP address of your Raspberry Pi. If you've configured a non-standard port, include the '-p' flag followed by the port number. Upon successful authentication, you'll gain access to the command-line interface of your Raspberry Pi.
This method facilitates remote management tasks such as software updates, file transfers, and running scripts. It also enables IoT applications where controlling devices from afar is crucial. With SSH, you can maintain your Raspberry Pi projects without needing to be physically present.
Connecting Raspberry Pi to Mobile Devices
Extending SSH capabilities to mobile devices like iPads or iPhones enhances the versatility of your Raspberry Pi setup. A previous tutorial demonstrated establishing SSH and VNC connections between a Raspberry Pi and an iPad on the same local network. To achieve this, download and install an SSH client app suitable for iOS.
Use the app to input the necessary connection details, including the IP address and port number. Once connected, you can interact with your Raspberry Pi directly from your mobile device. This setup proves especially beneficial when using the iPad as a secondary display or portable terminal.
Beyond convenience, integrating mobile devices with your Raspberry Pi offers creative opportunities for project development and presentation. Whether for educational purposes or personal projects, this combination provides flexibility and accessibility unmatched by traditional setups.
Securing Your Remote Connections
While SSH inherently provides a secure method of accessing your Raspberry Pi, additional measures can further safeguard your connections. Consider implementing strong, unique passwords or utilizing SSH keys for authentication to prevent unauthorized access.
Regularly update your Raspberry Pi's software and firmware to patch vulnerabilities and protect against potential threats. Monitor login attempts and review logs periodically to detect suspicious activities. Disabling password-based authentication after setting up SSH keys adds another layer of security.
By adhering to best practices in securing your SSH connections, you ensure that your Raspberry Pi remains protected while enjoying the benefits of remote access. This approach not only preserves the integrity of your projects but also instills confidence in managing your devices from any location worldwide.
